In a newly created online store, you will find pre-added products which you are able to freely edit to fit your needs. You are also able to create entirely new products. This article aims to explain exactly how to do both. Also, you’ll see how to add a description, images and tax rate for your products.
- New products can be added by clicking PRODUCTS in the upper menu of the editor.

- Click the button Add product.

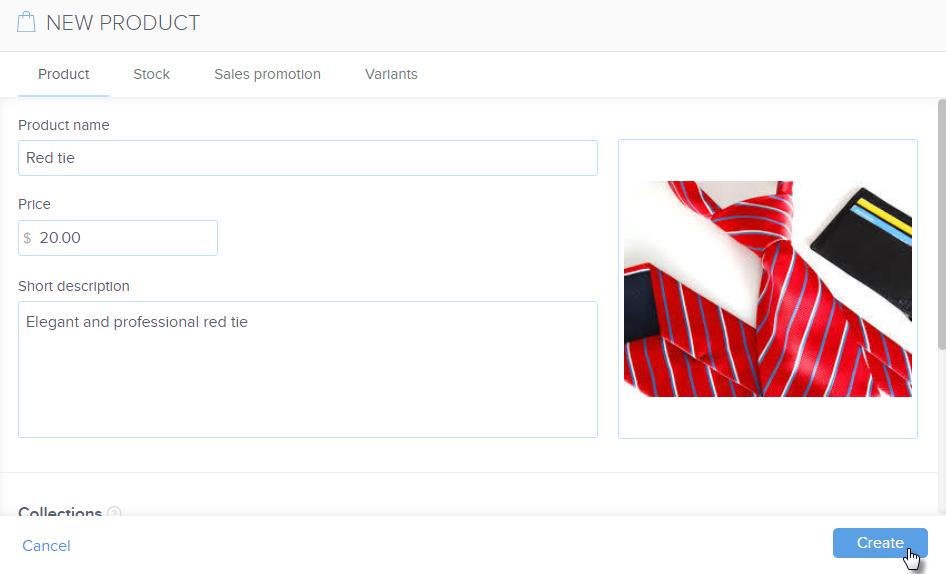
- Enter the name of the product and its price. The tax rate can also be changed.

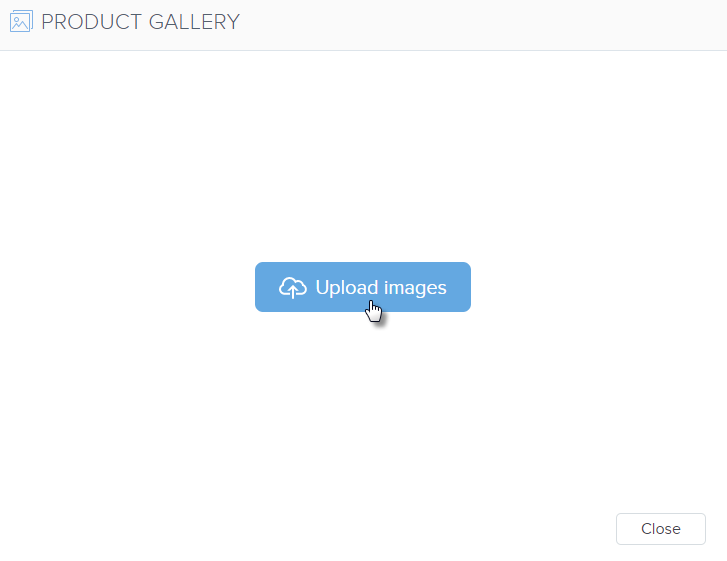
- Upload images by clicking Upload images. Continue by clicking Upload images and then choosing the image from your computer.

- In the Short description field, add a short description of your product. The description should be as short as possible so your visitors can see the entire description. Longer descriptions can be added directly to the product’s page.
- You are then able to add this product to a category. This will allow you to organize your products into groups like “Women,” “Men,” or “Accessories.”
- In the same window, you will see the sections Sales promotion and Stock. Promotions allows you to add labels and price comparisons to your product. In the availability section, you can add the product number, the number available in stock or hide the product from your online store.
- Be sure to save all details of your new product by clicking Create.

- You have just added a new product. To make it visible and available to your customers, be sure to publish your online store by clicking PUBLISH in the upper menu of the editor.


